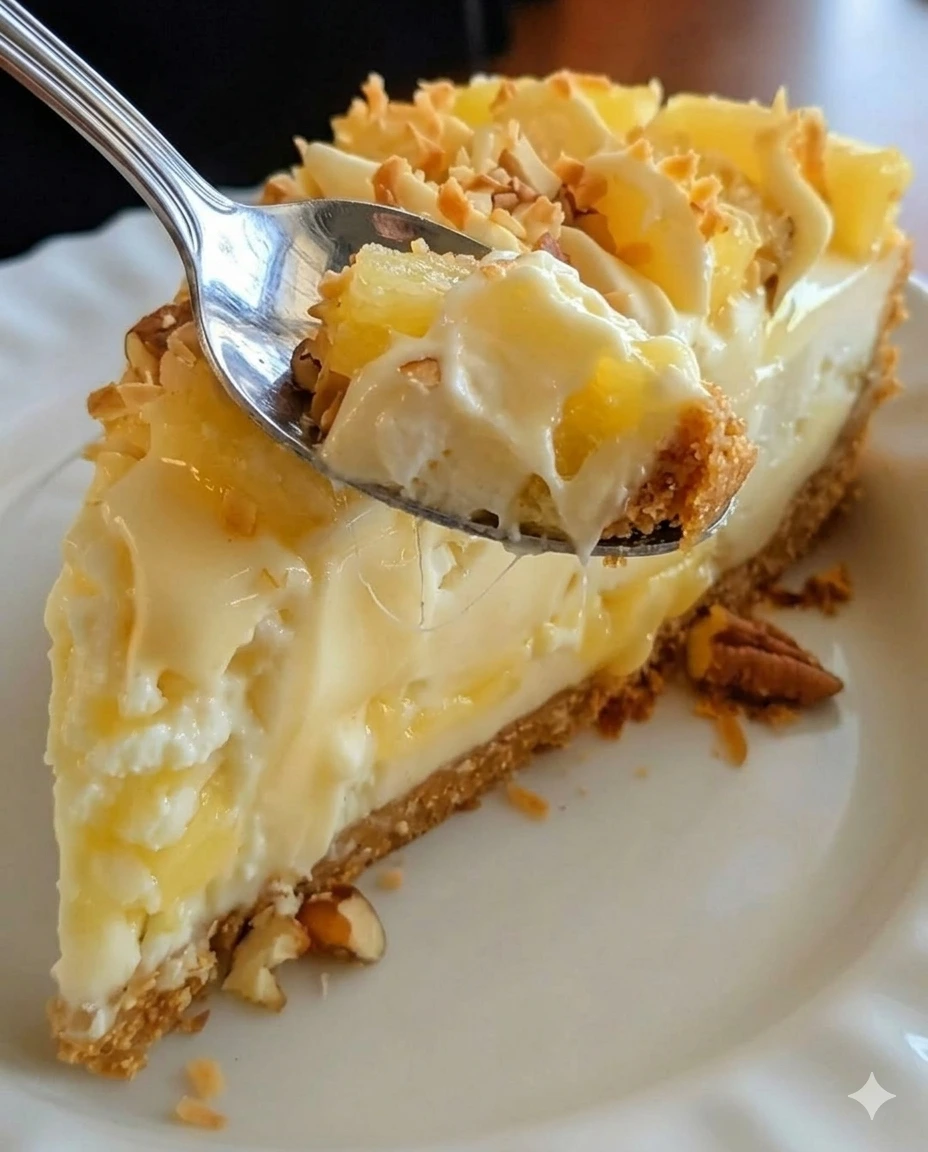
When the warm weather rolls around, or when you simply find yourself craving a taste of the tropics, nothing satisfies the palate quite like a refreshing, fruit-forward dessert. Among the pantheon of classic, effortless treats, few dishes hold as much nostalgic charm and crowd-pleasing power as the No-Bake Pineapple Dream Dessert. Light, exceptionally creamy, and bursting with vibrant tropical sweetness, this layered masterpiece balances a rich, velvety filling with a buttery, texturally satisfying graham cracker crust.
It is exactly the kind of dessert that feels completely effortless to whip together, yet it tastes sophisticated enough to anchor the dessert table at summer gatherings, backyard barbecues, potlucks, or intimate family celebrations.
In this comprehensive, search engine optimized guide, we will break down the culinary mechanics behind this irresistible treat. From analyzing the role of each premium ingredient to mastering the structural layering process, this recipe manual will ensure your dessert turns out perfectly firm, smooth, and sliceable every single time.
The Recipe Specifications
Before stepping into the kitchen, it helps to understand the foundational metrics of this dish to optimize your preparation timeline:
-
Course Type: Baking, Dessert, Sweet Snacks
-
Culinary Style: Traditional American
-
Preparation Method: 100% No-Bake (No Oven Required)
-
Required Kitchenware: 9×9-inch square baking dish, hand mixer or stand mixer, silicone spatula
-
Setting Duration: Several hours in refrigeration (overnight recommended)
Comprehensive Ingredients Checklist
Achieving a high-end, restaurant-quality result relies heavily on selecting the correct ingredients and ensuring they are processed at the proper temperatures. Below is the precise breakdown of everything you will need, carefully sorted by the three structural layers of the dessert.
1. The Buttery Graham Cracker Crust
-
20 whole graham crackers, crushed into a fine, uniform crumb texture
-
½ cup granulated white sugar (crucial for structural sweetness and locking the crumb matrix together)
-
½ cup unsalted butter, completely melted
2. The Creamy Pineapple Dream Filling
-
8 oz (1 block) cream cheese, full-fat variety, thoroughly softened to room temperature
-
1 cup powdered sugar (also known as confectioners’ sugar, used for an ultra-smooth consistency)
-
8 oz (1 tub) Cool Whip or equivalent whipped topping, completely thawed in the refrigerator
-
1 cup crushed pineapple, meticulously drained of all its excess juices
3. The Tropical Garnish
-
¼ cup diced pineapple pieces, thoroughly drained
-
¼ cup shredded coconut (sweetened or unsweetened, depending on your flavor preference)
Detailed Step-by-Step Culinary Instructions
The secret to a flawless no-bake dessert lies in the order of execution. Follow these chronological, step-by-step phases to build your dessert with structural integrity and beautiful, distinct layers.
Phase 1: Constructing the Crunchy Crust Foundation
A soft filling requires a firm, stable base to offer a pleasing textual contrast when biting into a slice.
-
Prepare the Dish: Begin by lightly greasing a 9×9-inch baking dish. You can use a tiny amount of neutral cooking spray or butter. This step prevents the graham cracker crumbs from bonding too aggressively to the glass or ceramic, making it much easier to lift out clean slices later.
-
Pulse the Crackers: Place your 20 whole graham crackers into a food processor and pulse until they are completely transformed into fine, sandy crumbs. If you do not have a food processor, place the crackers inside a large zip-top plastic bag, seal it tightly, and roll over it repeatedly with a wooden rolling pin until no large chunks remain.
-
Combine the Base Elements: In a medium-sized mixing bowl, combine the fine graham cracker crumbs with the ½ cup of granulated sugar. Pour the ½ cup of melted butter directly over the dry mixture. Using a fork or spatula, toss the ingredients together thoroughly until every single crumb is evenly moistened and the mixture resembles damp beach sand.
-
Pack It Firmly: Pour the wet crumb mixture directly into the bottom of your greased 9×9-inch dish. Using clean hands, or preferably the flat, heavy bottom of a dry measuring cup, press the crust mixture firmly and evenly into the bottom of the dish. Pay special attention to the corners to ensure the depth is uniform throughout. Once tightly compacted, set the dish aside in the refrigerator to chill while you work on the next layer.
+-------------------------------------------------------------+
|         TROPICAL GARNISH (Diced Pineapple + Coconut)        |  <- Textural crunch & color
+-------------------------------------------------------------+
|     CREAMY PINEAPPLE FILLING (Cream Cheese + Cool Whip)      |  <- Velvety, whipped layer
+-------------------------------------------------------------+
|             COMPACTED GRAHAM CRACKER CRUST                  |  <- Buttery, solid base
+-------------------------------------------------------------+
Phase 2: Whipping the Dream Filling Layer
The heart of this dessert is its velvety, cloud-like filling, which relies on a precise mixing technique to avoid lumps.
-
Aerate the Cream Cheese: In a large mixing bowl (or the bowl of a stand mixer fitted with the paddle attachment), place your 8 oz of thoroughly softened cream cheese. Beat on medium-high speed for roughly 2 to 3 minutes until it becomes completely smooth, light, and fluffy. Chef’s Note: If your cream cheese is too cold, it will form tiny, stubborn lumps that are impossible to eliminate later. Always bring it to room temperature before starting.
-
Integrate the Sugar: Turn the mixer speed down to low. Add the 1 cup of powdered sugar to the bowl in small increments. Mix continuously until the sugar is fully absorbed and integrated into the cream cheese without kicking up a sugar cloud. Once incorporated, scrape down the sides and bottom of the bowl with a flexible silicone spatula to ensure a completely uniform texture.
-
Fold in the Cool Whip: Remove the bowl from your electric mixer. Add the 8 oz of completely thawed Cool Whip. Using a rubber spatula, use a gentle folding motion to combine the whipped topping with the sweet cream cheese base. Avoid stirring or beating vigorously at this point, as overworking the mixture will deflate the trapped air bubbles in the Cool Whip, causing your filling to turn runny instead of fluffy. Fold just until a smooth, uniform cream forms.
-
Fold in the Main Fruit: Add the 1 cup of thoroughly drained crushed pineapple into the cream base. Use your spatula to gently fold the fruit through the mixture until the pineapple pieces are evenly distributed throughout the entire filling.
Phase 3: Layering, Garnishing, and Chilling
-
Spread Evenly: Retrieve your chilled crust from the refrigerator. Carefully spoon the pineapple dream filling over the top of the graham cracker base. Using an offset spatula or the back of a large spoon, smooth the filling out, pushing it gently into all four corners to form a perfectly level, beautiful layer.
-
Apply the Finishes: Uniformly sprinkle the ¼ cup of drained diced pineapple across the smooth surface of the cream. Follow this by evenly dusting the top with the ¼ cup of shredded coconut. The white flakes of coconut paired with the golden pineapple jewels create an incredibly professional aesthetic.
-
The Essential Set Time: Cover the baking dish tightly with a layer of aluminum foil or plastic wrap. Place the dish into the refrigerator and let it chill undisturbed for several hours, or until it is fully set. For the absolute best results—and to ensure the cleanest cuts when slicing—allowing the dessert to sit in the refrigerator overnight is highly recommended.
Pro-Tips for Perfect Sliceability
Because this is a completely no-bake dessert that does not use gelatin as a firming agent, its structural integrity relies heavily on temperature and moisture control. Keep these professional tips in mind to ensure success:
-
Drain the Pineapple Extensively: This is the single most important step in the entire recipe. Pineapple contains a massive amount of natural water. If you do not drain your crushed and diced pineapple properly, that excess juice will slowly bleed into the cream cheese filling over time. This will break down the structure, causing your filling to become runny and your crust to turn soggy. Pour the pineapple into a fine-mesh strainer and use the back of a large spoon to firmly press out as much liquid as humanly possible before adding it to the bowl.
-
Softened vs. Melted Cream Cheese: Make sure your cream cheese softens naturally on the kitchen counter for 1 to 2 hours. Never attempt to accelerate this process by melting it in the microwave, as microwaving changes the molecular structure of the dairy fats, preventing it from whipping up into a fluffy, stable state.
-
Clean Slices Every Time: When you are ready to serve, use a long, sharp chef’s knife. For flawless squares, dip the knife blade into a glass of hot water, wipe it completely clean with a kitchen towel, make a single straight cut, and repeat the dipping and wiping process before making the next cut.
Flavor Variations to Try
While this classic American recipe is spectacular as written, it also serves as an excellent blank canvas for your own creative twists:
-
The Toasted Coconut Variant: Before sprinkling the shredded coconut over the top garnish, spread it out on a baking sheet and toast it in an oven or toaster oven at 350°F for 3 to 5 minutes until it turns a beautiful golden-brown color. Toasting the coconut unlocks a deeply nutty aroma and adds an incredible crunch to the top of the dessert.
-
The Maraschino Cherry Pop: For a gorgeous splash of retro color and a delightful sweet-tart contrast, drop a few halved maraschino cherries on top of the garnish layer alongside the diced pineapple.
-
Nuts for Texture: If you enjoy a bit of extra crunch in your creamy desserts, fold half a cup of finely chopped, toasted pecans or macadamia nuts directly into the graham cracker crust mixture before pressing it into the baking dish.
Frequently Asked Questions (FAQs)
Can I use fresh pineapple instead of canned?
While fresh pineapple is delicious, canned pineapple is actually preferred for this specific recipe. Fresh, uncooked pineapple contains an active enzyme called bromelain, which naturally breaks down proteins. When fresh pineapple comes into contact with dairy products like cream cheese, the bromelain can cause the cream to break down, become runny, and take on a bitter taste. The canning process heats the fruit, safely neutralizing this enzyme.
Can I use real whipped cream instead of Cool Whip?
Yes, you can substitute the Cool Whip with real whipped cream, but you must be careful with structural stability. If you choose to use real cream, whip 1 cup of cold heavy whipping cream with 2 tablespoons of powdered sugar until it forms very stiff peaks. Keep in mind that real whipped cream deflates much faster than stabilizing toppings like Cool Whip, so a dessert made with real cream should be consumed within 24 to 48 hours.
How long can I store this dessert?
When kept covered tightly with plastic wrap or stored in an airtight container inside the refrigerator, this Pineapple Dream Dessert will remain fresh and absolutely delicious for up to 3 to 4 days. It makes for a fantastic make-ahead option since the flavors continue to marry and deepen as it sits.
Try Also: Irresistible Dessert Ideas from

No-Bake Pineapple Dream Dessert
- Total Time: 180 minutes
- Yield: 8 servings 1x
- Diet: Vegetarian
Description
A refreshing, fruit-forward dessert that combines a buttery graham cracker crust with a creamy pineapple filling, perfect for summer gatherings.
Ingredients
- 20 whole graham crackers, crushed
- ½ cup granulated sugar
- ½ cup unsalted butter, melted
- 8 oz cream cheese, softened
- 1 cup powdered sugar
- 8 oz Cool Whip, thawed
- 1 cup crushed pineapple, drained
- ¼ cup diced pineapple, drained
- ¼ cup shredded coconut
Instructions
- Prepare the Dish: Lightly grease a 9×9-inch baking dish.
- Pulse the Crackers: Place graham crackers in a food processor and pulse to fine crumbs.
- Combine the Base Elements: Mix crumbs with sugar and melted butter until moistened.
- Pack It Firmly: Press the mixture into the bottom of the dish and chill.
- Aerate the Cream Cheese: Beat softened cream cheese until smooth and fluffy.
- Integrate the Sugar: Gradually add powdered sugar and mix until combined.
- Fold in the Cool Whip: Gently mix in Cool Whip without deflating it.
- Fold in the Main Fruit: Add drained pineapple and fold into the mixture.
- Spread Evenly: Spoon pineapple filling over the chilled crust.
- Apply the Finishes: Sprinkle diced pineapple and shredded coconut on top.
- Chill: Cover and refrigerate for several hours or overnight to set.
Notes
For best results, ensure the pineapple is thoroughly drained to avoid excess moisture in the filling. Allow time for the dessert to chill and set properly before serving.
- Prep Time: 30 minutes
- Cook Time: 0 minutes
- Category: Dessert
- Method: No-Bake
- Cuisine: American
Nutrition
- Serving Size: 1 slice
- Calories: 310
- Sugar: 20g
- Sodium: 300mg
- Fat: 18g
- Saturated Fat: 9g
- Unsaturated Fat: 6g
- Trans Fat: 0g
- Carbohydrates: 40g
- Fiber: 1g
- Protein: 3g
- Cholesterol: 30mg
Keywords: no-bake dessert, pineapple dessert, tropical dessert, summer dessert, easy dessert