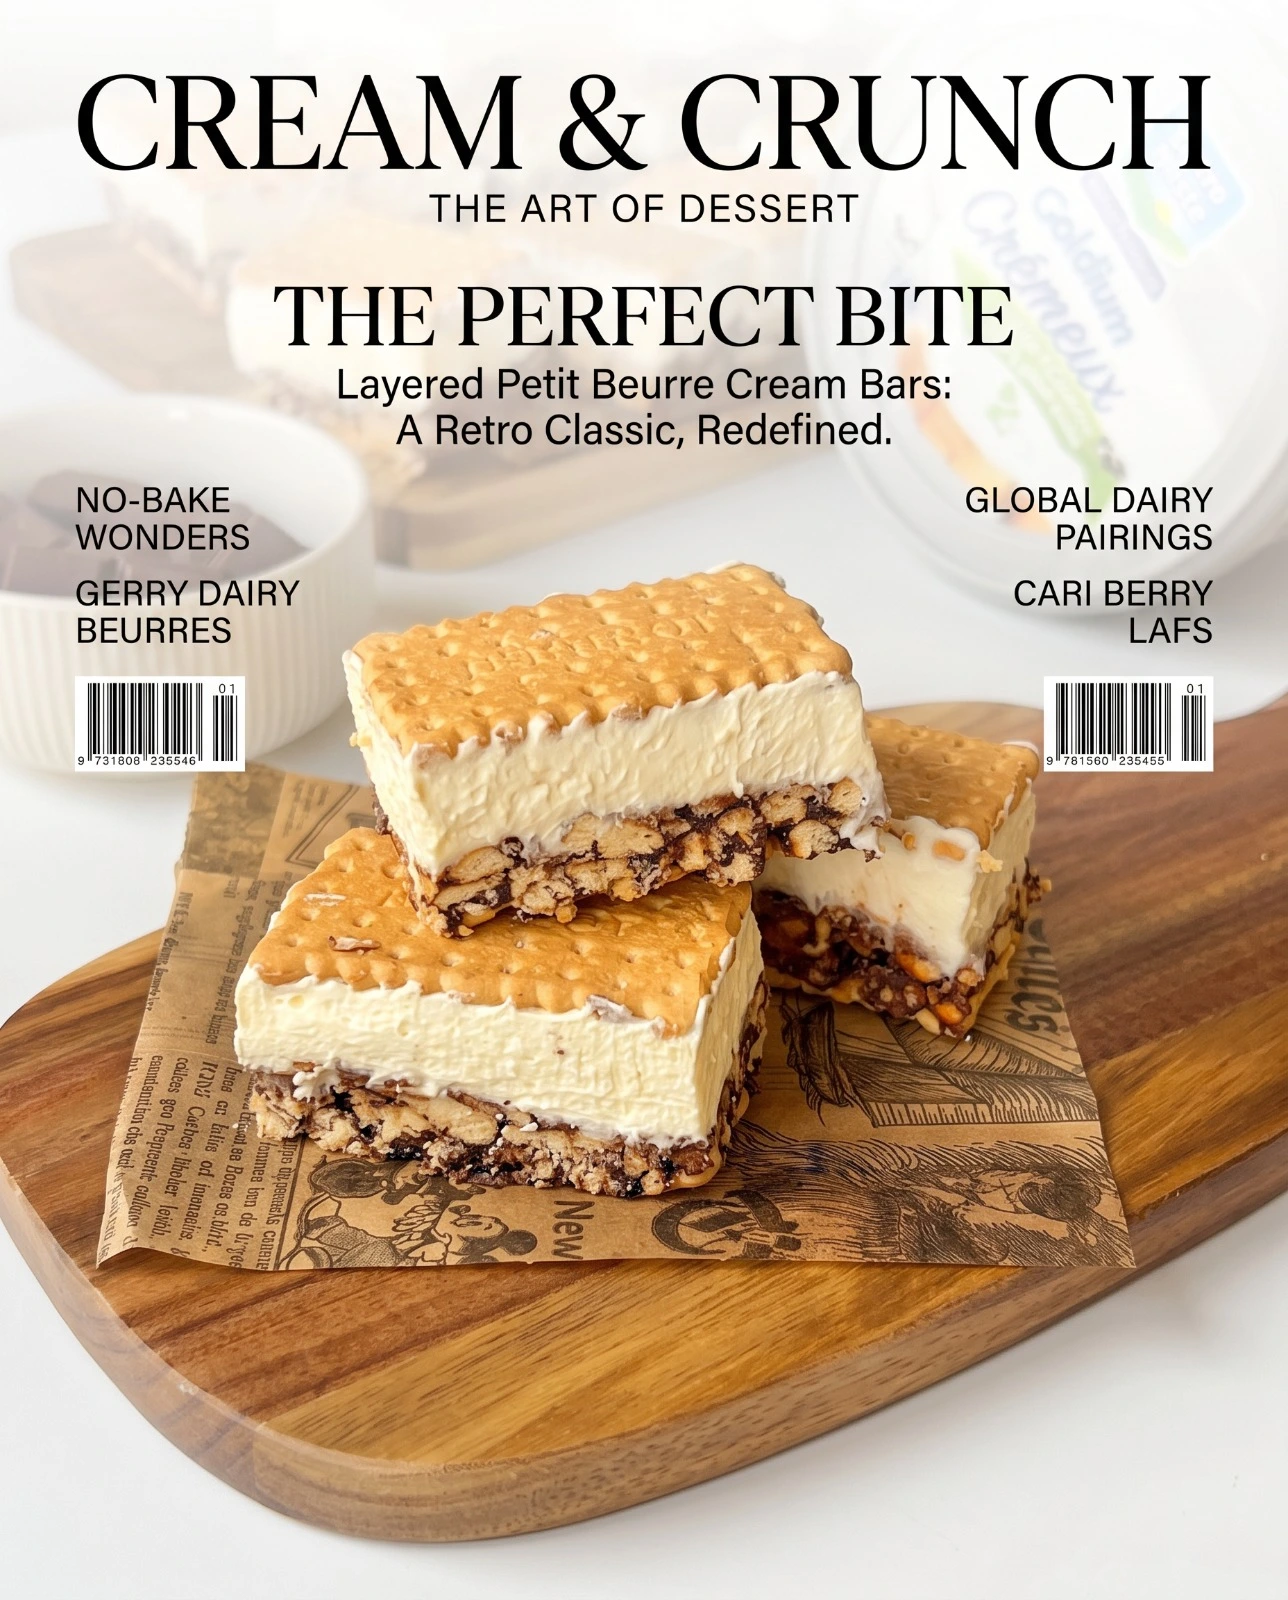
If you are looking for a spectacular, crowd-pleasing frozen dessert that requires zero oven time and takes just 25 minutes of hands-on prep, this No-Bake Ice Cream Sandwich Cake is the ultimate answer. Bringing together crunchy petit beurre biscuits, a rich chocolate ganache crunch center, and a velvety cream cheese layer, this refrigerator cake feels luxurious while using simple pantry staples.
Built with a structural chocolate-biscuit crunch center sandwiched between neat rows of whole Petit Beurre cookies, it mimics the classic ice cream sandwich texture in a beautiful sliceable form. Whether you are hosting a casual summer barbecue, an autumn gathering, or a family celebration, this foolproof ice-cold dessert always disappears in minutes.
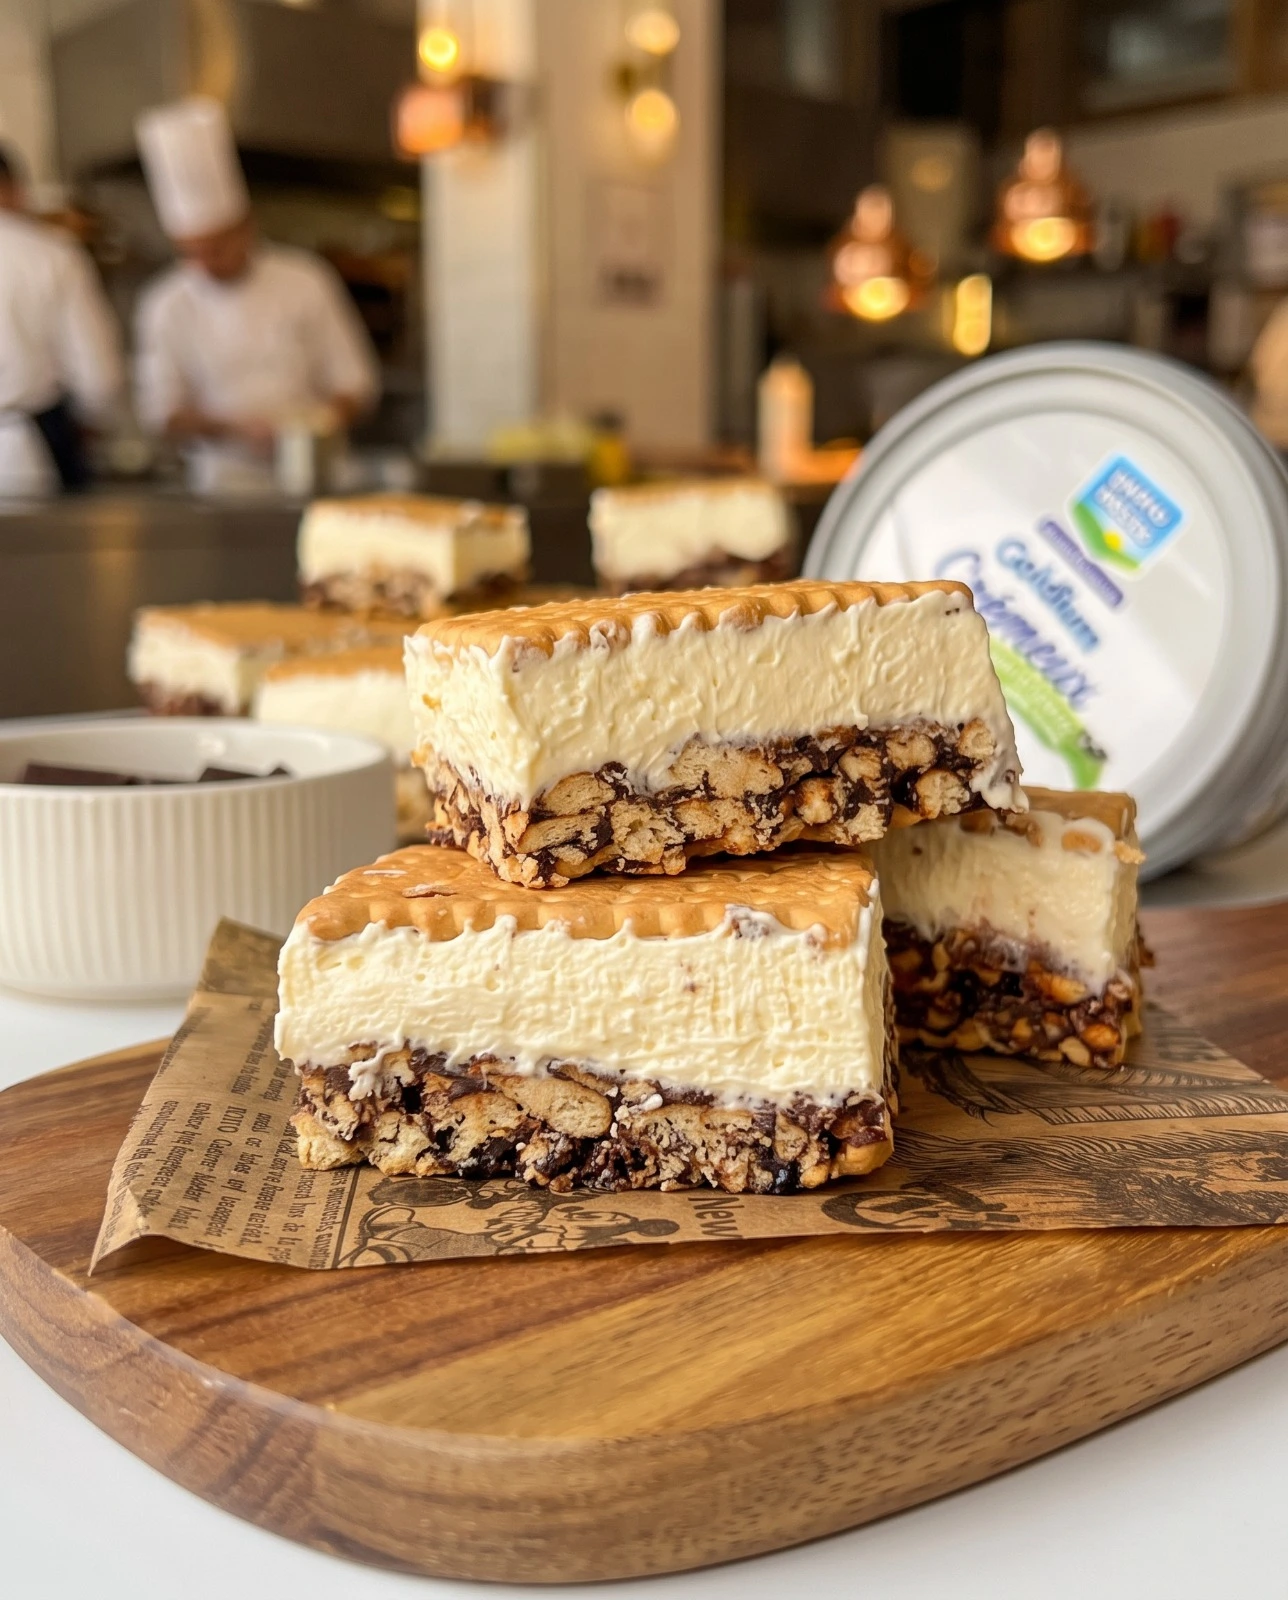
Table of Contents
Why This 25-Minute Freezer Cake Rules
-
Zero Baking Required: The entire cake sets up firmly inside your freezer, keeping your kitchen cool while saving you oven time.
-
Perfect Structural Contrast: Combining whole biscuit borders with a rich chocolate-crunch center gives each slice a satisfying snap alongside velvety cream.
-
Effortless Portioning: Placing whole biscuits in neat rows across the top makes it easy to slice into 12 perfect, uniform square portions.
Master Ingredients List
1. The Chocolate Biscuit Crunch Layer
-
2 packages Petit Beurre Biscuits: Crushed into small, irregular fragments (do not grind into fine powder).
-
120 g Dark Chocolate: Chopped for easy melting.
-
200 ml Liquid Cream: Warmed to form a glossy ganache.
-
1 tbsp Butter: Adds richness and shine.
2. The Creamy Cheese Layer
-
200 g Goldium Crémeux (or Cream Cheese): Softened for smooth blending.
-
200 ml Liquid Cream: Chilled for whipping.
-
1 cup Powdered Sugar: Sweetens and stabilizes the cream structure.
-
1 sachet Vanilla Sugar (or 1 tsp Vanilla Extract): Provides clean aromatic flavor.
3. Top & Base Elements
-
1 package Petit Beurre Biscuits: Kept whole for the top and bottom structural layers.
Step-by-Step Layering and Freezing Guide
Quick Recipe Overview
| Metric | Details |
| Prep Time |
25 minutes
|
| Freeze Time |
4+ hours (or overnight)
|
| Total Time |
4.5 hours
|
| Yield |
12 Party-Ready Squares
|
Pro Tips for Clean Bites and Flawless Layers 💡
-
Don’t Over-Crush the Biscuits: For the chocolate crunch core, break the Petit Beurre biscuits into coarse, chunky fragments rather than fine crumbs. Leaving small pieces intact provides the signature crunch contrast against the velvety cream layer.
-
The Warm Knife Cutting Secret: To keep the whipped cream and chocolate layers intact without crushing the frozen top biscuits, submerge a sharp knife in hot water for a few seconds. Wipe the blade completely dry, slice cleanly along the biscuit borders, and wipe clean before every cut.
-
Chill Your Bowl for Maximum Volume: Before whipping the cream cheese and liquid cream filling, place your mixing bowl and beaters in the freezer for 10 minutes. Cold equipment ensures the cream whips up thick, stable, and airy.
Storage Hacks and Serving Suggestions
-
Freezer Storage: Keep the cake covered with plastic wrap or inside an airtight container in the freezer for up to 2 weeks.
-
Serving Temperature: For the best ice cream sandwich texture, let the cake rest on the counter for 3 to 5 minutes before serving. This softens the cream layer slightly while keeping the center icy and crisp.
No-Bake Ice Cream Sandwich Cake
- Total Time: 270 minutes
- Yield: 12 servings 1x
- Diet: Vegetarian
Description
A luxurious no-bake dessert that combines crunchy biscuits with rich chocolate ganache and creamy layers, perfect for any occasion.
Ingredients
Scale
- 2 packages Petit Beurre Biscuits, crushed
- 120 g Dark Chocolate, chopped
- 200 ml Liquid Cream, warmed
- 1 tbsp Butter
- 200 g Goldium Crémeux (or Cream Cheese), softened
- 200 ml Liquid Cream, chilled
- 1 cup Powdered Sugar
- 1 sachet Vanilla Sugar (or 1 tsp Vanilla Extract)
- 1 package Petit Beurre Biscuits, kept whole
Instructions
- Prepare the chocolate crunch: Crush 2 packages of Petit Beurre biscuits into small fragments. Warm 200 ml of liquid cream and 1 tbsp butter in a saucepan over low heat. Add 120 g dark chocolate, stirring until melted. Pour over the biscuits and mix.
- Assemble the base and crunch core: Line a baking mold with parchment. Arrange whole biscuits across the bottom. Spoon the chocolate-biscuit crunch mixture on top, pressing down to level.
- Whip the velvet cream cheese filling: In a chilled bowl, combine 200 g Goldium Crémeux, 200 ml cream, 1 cup powdered sugar, and vanilla sugar. Whisk until smooth and thick.
- Layer and top with biscuit grid: Spread the cream cheese filling over the crunch layer. Arrange remaining whole biscuits on top, pressing gently.
- Deep freeze: Cover and freeze for at least 4 hours. Let sit at room temperature for a few minutes before slicing into squares. Serve ice-cold!
Notes
For best results, chill your mixing bowl before whipping the cream. Use a warm knife for clean cutting.
- Prep Time: 25 minutes
- Cook Time: 0 minutes
- Category: Dessert
- Method: Freezing
- Cuisine: American
Nutrition
- Serving Size: 1 square
- Calories: 300
- Sugar: 20g
- Sodium: 200mg
- Fat: 18g
- Saturated Fat: 10g
- Unsaturated Fat: 8g
- Trans Fat: 0g
- Carbohydrates: 35g
- Fiber: 1g
- Protein: 5g
- Cholesterol: 25mg
Keywords: no-bake dessert, ice cream, chocolate cake, summer treats