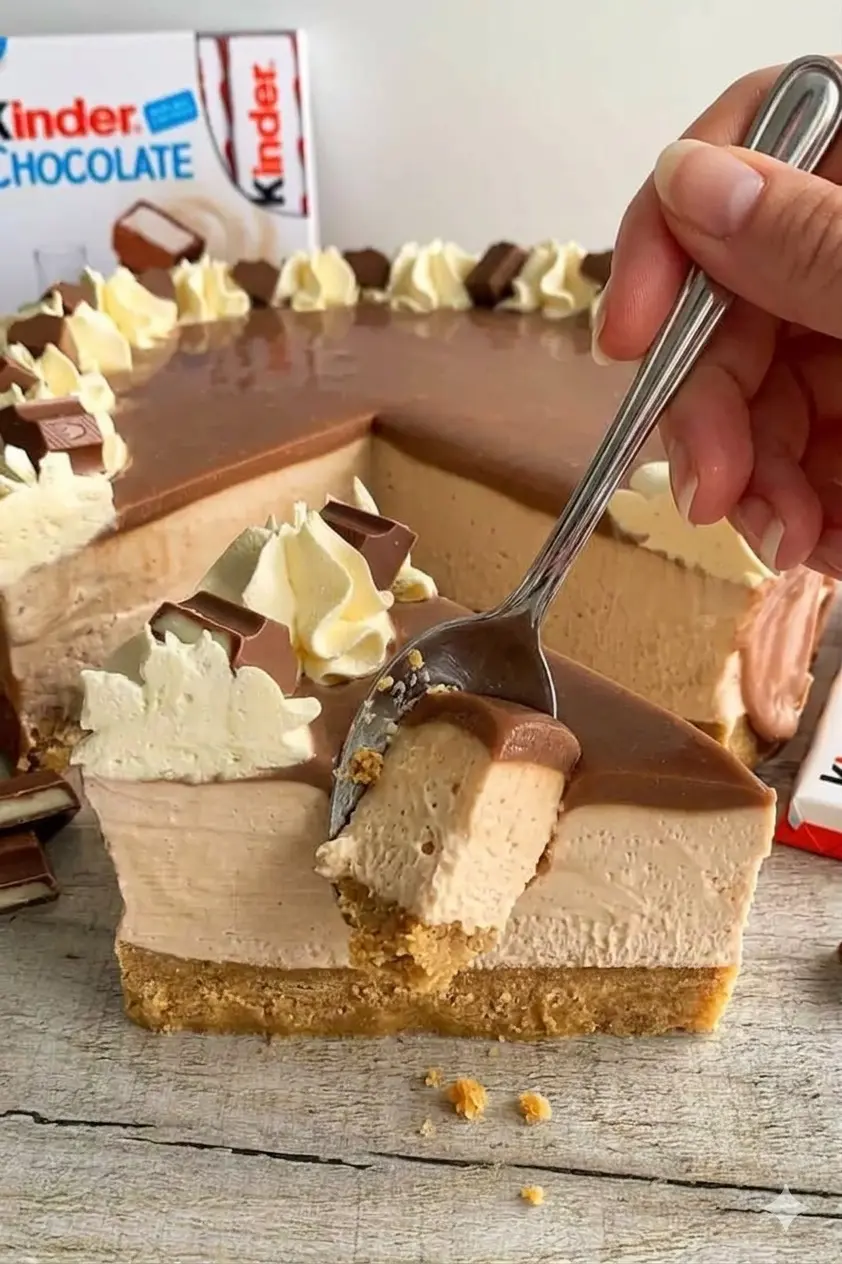
If you are looking to step away from traditional holiday desserts and serve something truly spectacular, this No-Bake Kinder Bueno Cheesecake is the ultimate festive showstopper. It features a deeply buttery digestive biscuit base, a velvety cream cheese filling infused with real hazelnut cream, and a smooth, rich hazelnut crème spread topping decorated with cloud-like whipped cream and iconic Kinder Bueno chunks.
Because it requires absolutely no oven time, it keeps your kitchen cool and stress-free during busy hosting seasons. By balancing the tangy richness of cream cheese with the luxurious, nutty sweetness of hazelnut chocolate, this dessert delivers pure indulgence with minimum effort.
Why You Will Love This No-Bake Cheesecake
-
100% No-Bake Simplicity: Skip the water baths, oven timers, and fears of cracking. This recipe relies entirely on your refrigerator to set perfectly every time.
-
Authentic Hazelnut Profile: Instead of just topping the cake with chocolate, the cheesecake batter itself is marbled with smooth hazelnut crème spread for an authentic Kinder Bueno taste.
-
Sensational Texture Contrast: Every slice pairs a crisp, buttery biscuit crust with a silky-smooth cream filling and a glossy, melt-in-your-mouth hazelnut glaze.
-
The Perfect Holiday Alternative: It’s an unforgettable centerpiece for Christmas or special celebrations when you want a modern, crowd-pleasing dessert that everyone will rush to try.
 Prep Time: 20 mins   |   Chill Time: 6 hrs (or overnight)   |   Yield: 10-12 servings
 Course: Dessert      |   Cuisine: Modern European           |   Tin Size: 8” Springform
Ingredients Checklist
Because this is a stable no-bake structure, using full-fat dairy components at the correct temperatures is essential for achieving a clean, sliceable texture.
For the Buttery Biscuit Base
-
300g Digestive Biscuits: Provides a classic, slightly textured crust with a hint of saltiness that balances the sweet filling. You can substitute graham crackers if digestives are unavailable.
-
150g Butter (Melted): Salted or unsalted butter works perfectly to bind the biscuit crumbs into a sturdy foundation.
For the Silky Hazelnut Filling
-
500g Full-Fat Cream Cheese: Must be at room temperature. Using light or spreadable cream cheese will introduce too much water, causing your no-bake cheesecake to turn out runny.
-
400ml Double Cream: Must be ice-cold straight from the refrigerator so it whips up to maximum volume and creates a stable, airy framework.
-
120g Icing Sugar (Powdered Sugar): Dissolves effortlessly into the cream cheese without leaving a grainy residue.
-
100g Hazelnut Crème Spread: A high-quality smooth hazelnut spread or Kinder-style white hazelnut cream to infuse the base batter.
For the Luxurious Topping & Garnish
-
150g–200g Hazelnut Crème Spread: Melted down smoothly to form a flawless, glossy top layer.
-
150ml Double Cream (Cold): Whipped up right before serving to create decorative pastry stars.
-
12 Chunks of Kinder Bueno: The unmistakable signature garnish that crowns each individual slice.
Step-by-Step Instructions
Follow these clear, chronological directions to assemble, glaze, and decorate your hazelnut masterpiece.
1. Construct the Biscuit Foundation
-
Lightly grease the inside walls of an 8-inch springform pan. You can line the bottom with a circle of parchment paper for an incredibly clean release later.
-
Crush your 300g of digestive biscuits into a fine sand consistency using a food processor, or place them in a zip-top bag and crush them firmly with a rolling pin.
-
In a medium bowl, pour the 150g of melted butter over the crushed biscuit crumbs. Stir thoroughly with a spoon or spatula until the mixture looks like wet sand and all crumbs are hydrated.
-
Empty the buttery crumbs into your prepared springform pan. Press the mixture down firmly and evenly into the base using the flat bottom of a glass or a measuring cup. Place the pan in the refrigerator to chill and firm up while you build the filling.
2. Whip up the Velvety Hazelnut Filling
-
In a large mixing bowl, combine your room-temperature 500g of full-fat cream cheese, 120g of icing sugar, and 100g of hazelnut crème spread. Beat with an electric hand mixer on medium speed for 1 to 2 minutes until completely smooth, creamy, and uniform. Set aside.
-
In a separate, chilled glass or metal bowl, pour in your 400ml of cold double cream. Whip on medium-high speed until stiff peaks form (the cream should hold its shape firmly when the beaters are lifted).
-
Using a flexible rubber spatula, add the whipped double cream to your hazelnut cream cheese base. Gently fold the mixture together using an under-and-over motion. Be careful not to mix aggressively; folding traps the air from the cream, creating a light, mousse-like cheesecake structure.
-
Retrieve your chilled crust pan. Spoon the fluffy filling over the biscuit base, using an offset spatula to smooth the surface into a perfectly flat, level sheet. Place the pan back into the fridge.
3. Pour the Glossy Hazelnut Glaze
-
Place your 150g–200g of hazelnut crème spread into a small saucepan over low-medium heat.
-
Crucial Tip: Stir the spread continuously and regularly as it warms. Do not leave it unattended; hazelnut spread contains milk solids and sugars that can burn and turn bitter very quickly if overheated. Heat just until it becomes fully liquid, smooth, and easily pourable.
-
Remove the saucepan from the heat and let the spread cool for 2 to 3 minutes so it is not piping hot.
-
Pour the pourable hazelnut spread directly over the center of your chilled cream cheese layer. Gently tilt the springform pan in a circular motion to guide the glaze evenly across the entire top surface.
4. The Deep Set and Garnish
-
Place the assembled cheesecake into the refrigerator to set for a minimum of 6 hours, though letting it rest overnight is highly recommended for the cleanest, most professional slices.
-
Just before serving: Pop the latch on your springform pan carefully. If needed, run a thin palette knife warmed in hot water around the inside edge first for a flawless edge.
-
Whip your remaining 150ml of cold double cream to stiff peaks and transfer it to a piping bag fitted with a star nozzle. Pipe 12 beautiful rosettes around the outer crown of the cake.
-
Top each whipped cream rosette with a crisp chunk of Kinder Bueno chocolate.
Pro Pastry Chef Styling Secrets
The Perfect Edge Release: To get a clean, sharp, bakery-style vertical edge on your no-bake cheesecake without any smudging, line the inside walls of your springform pan with an acetate cake strip before adding the filling. When you pull the acetate away after chilling, the sides will look pristine.
Marbling Variation: If you prefer a dual-tone visual contrast, keep the cream cheese filling completely white (omit the 100g of spread from the batter) and drop warm spoonfuls of hazelnut spread directly into the white cream, dragging a toothpick through it to create beautiful amber swirls before adding the final top glaze.
Storage and Freshness Guidelines
-
In the Refrigerator: Keep the cheesecake covered loosely with plastic wrap or stored inside a sealed cake dome. It stays beautifully fresh, rich, and delicious in the fridge for up to 3 to 4 days.
-
Garnish Advice: Always add your Kinder Bueno chunks right before serving the cake. If left on the cake in the fridge overnight, the inner wafer of the chocolate bar can absorb ambient moisture from the dairy, causing it to lose its signature crunch.
Nutritional Summary (Per Slice)
| Nutrient | Typical Values |
| Tin Size | 8-inch Springform Pan |
| Yield | 10 – 12 generous slices |
| Texture Profile | Crisp biscuit crunch paired with a rich, melt-in-your-mouth nutty cream. |
Frequently Asked Questions (FAQs)
Why did my no-bake cheesecake turn out soft or watery?
The most common cause is using low-fat cream cheese or under-whipping the double cream. Full-fat cream cheese contains the necessary structure-building fats that solidify when cold. Additionally, the double cream must be whipped to true stiff peaks before folding to ensure the cheesecake sets into a clean, sliceable consistency.
Can I freeze this cheesecake to save time?
Yes! This no-bake recipe freezes beautifully. Wrap the fully set cheesecake (without the whipped cream and Kinder Bueno garnishes) tightly in plastic wrap and aluminum foil. Freeze for up to 1 month. Thaw completely in the refrigerator for 6 to 8 hours before decorating and serving.
Final Thoughts
This No-Bake Kinder Bueno Cheesecake proves that you don’t need a hot oven to create an exceptionally luxurious, festive dessert masterpiece. By pairing a sturdy biscuit base with full-fat dairy fats and a carefully melted hazelnut glaze, you guarantee a rich, modern treat that will easily become a new family tradition.
Try Also: Irresistible Dessert Ideas from
-
What is Dubai Chocolate Bar Made Of? Key Ingredients Explained
-
Rose Milk Cake Recipe
-
Strawberry Cheesecake Dump Cake Recipe
Be sure to Print Recipe or Pin Recipe so you have this ultimate, crowd-pleasing hazelnut chocolate guide ready for your next big holiday gathering or weekend celebration!
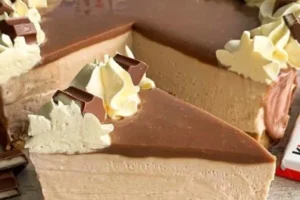
No-Bake Kinder Bueno Cheesecake
- Total Time: 360 minutes
- Yield: 10-12 servings 1x
- Diet: Vegetarian
Description
A luxurious no-bake cheesecake with a buttery biscuit base, creamy hazelnut filling, and a rich topping of hazelnut crème spread and Kinder Bueno chunks.
Ingredients
- 300g Digestive Biscuits
- 150g Butter (Melted)
- 500g Full-Fat Cream Cheese
- 400ml Double Cream
- 120g Icing Sugar (Powdered Sugar)
- 100g Hazelnut Crème Spread
- 150g–200g Hazelnut Crème Spread (for topping)
- 150ml Double Cream (Cold, for garnish)
- 12 Chunks of Kinder Bueno
Instructions
- Lightly grease an 8-inch springform pan.
- Crush digestive biscuits into a fine sand consistency.
- Pour melted butter over the crushed biscuits and stir until combined.
- Press the biscuit mixture firmly into the base of the springform pan and refrigerate.
- Combine room-temperature cream cheese, icing sugar, and hazelnut crème spread in a bowl and beat until smooth.
- Whip cold double cream in a separate bowl to stiff peaks.
- Fold the whipped cream into the hazelnut cream cheese mixture.
- Spoon the filling over the chilled biscuit base and smooth the top.
- Heat hazelnut crème spread in a saucepan until liquid, cool slightly, then pour over the cheesecake filling.
- Chill the cheesecake for at least 6 hours or overnight.
- Whip additional cold double cream and pipe rosettes on top before garnishing with Kinder Bueno chunks.
Notes
For the best results, use full-fat dairy and chill overnight for cleaner slices. Avoid adding Kinder Bueno chunks until just before serving to maintain their crunch.
- Prep Time: 20 minutes
- Cook Time: 0 minutes
- Category: Dessert
- Method: No-Bake
- Cuisine: Modern European
Nutrition
- Serving Size: 1 slice
- Calories: 360
- Sugar: 28g
- Sodium: 250mg
- Fat: 26g
- Saturated Fat: 12g
- Unsaturated Fat: 10g
- Trans Fat: 0g
- Carbohydrates: 30g
- Fiber: 1g
- Protein: 5g
- Cholesterol: 70mg
Keywords: no-bake cheesecake, Kinder Bueno, holiday dessert, festive cheesecake, hazelnut dessert