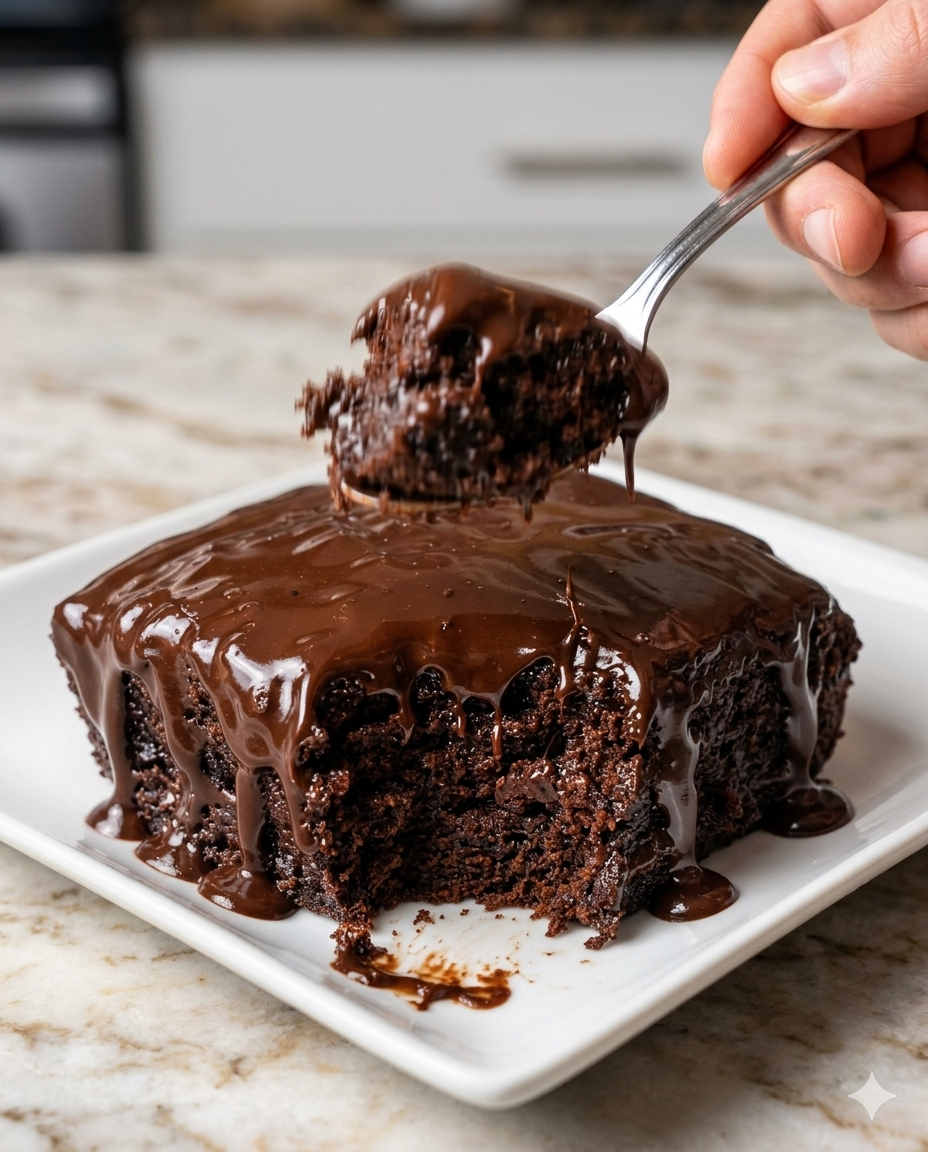
When you need an intensely rich, molten chocolate fix but don’t want to turn on the oven or wait an hour to bake, this Creamy Microwave Chocolate Pudding Cake is the ultimate solution. Often called a “self-saucing” pudding cake, this magical dessert creates its own layers right in the microwave. As it cooks, a fluffy chocolate sponge cake rises to the top while a thick, glossy, velvety chocolate pudding sauce forms underneath.
By layering a quick cocoa batter with a dusting of brown sugar and hot coffee (or water), the microwave’s rapid steam circulation cooks the top into a pillowy cake while dropping the liquid to the bottom to create a molten fudge pool. It’s the ultimate fast, comforting, single-bowl treat for late-night cravings or casual weeknight desserts.
Why You Will Love This Microwave Miracle
-
Ready in Under 15 Minutes: From grabbing your mixing bowl to diving in with a spoon, this entire dessert takes just minutes to prepare and cook.
-
Self-Saucing Magic: You don’t need to make a separate ganache or pudding; the ingredients magically separate into cake and hot fudge sauce during cooking.
-
Intense Chocolate Bloom: Using hot coffee or boiling water instantly activates the cocoa powder, unlocking a deep, bakery-quality chocolate richness.
-
Perfect for Small Batches: Easily made in an 8×8-inch glass baking dish or divided into individual mugs for a custom dessert experience.
 Prep Time: 10 mins   |   Cook Time: 6 mins   |   Total Time: 16 mins
 Course: Dessert      |   Cuisine: American   |   Yield: 4-6 comforting servings
Ingredients Checklist
Because microwave cooking relies on rapid steam and heat distribution, ensure your milk is at room temperature so the batter incorporates smoothly without clumping.
For the Soft Chocolate Cake Layer
-
1 cup All-Purpose Flour: Provides the light structural foundation for the sponge cake top.
-
¾ cup Granulated Sugar: Sweetens the cake crumb and locks in moisture.
-
¼ cup Unsweetened Cocoa Powder: Sifted; provides the deep chocolate base flavor.
-
2 teaspoons Baking Powder: The essential leavening agent that causes the cake to rise rapidly in the microwave.
-
¼ teaspoon Salt: Sharpens the cocoa notes and balances the sweetness.
-
½ cup Milk: Adds moisture and creates a smooth batter texture.
-
2 tablespoons Unsalted Butter (Melted): Adds a rich, buttery mouthfeel to the sponge layer.
-
1 teaspoon Vanilla Extract: Complements the deep chocolate aromatics.
For the Molten Pudding Sauce Layer
-
½ cup Light Brown Sugar: Packed; melts down to create a thick, caramel-tinged fudge sauce.
-
¼ cup Unsweetened Cocoa Powder: Mixes with the sugar to create the pudding base.
-
1 cup Hot Water or Hot Brewed Coffee: The magic liquid that forces the pudding sauce to the bottom of the dish. (Note: Hot coffee will not make the cake taste like coffee; it simply intensifies the dark chocolate flavor).
Step-by-Step Instructions
Follow these clear, chronological directions to layer your ingredients and monitor your microwave cooking for a flawless molten finish.
1. Whisk the Chocolate Batter Base
-
Lightly grease an 8×8-inch microwave-safe glass or ceramic baking dish (or a 1.5-quart casserole dish) with a bit of butter or non-stick spray.
-
In a medium-sized bowl, whisk together the 1 cup of flour, ¾ cup of granulated sugar, ¼ cup of cocoa powder, 2 teaspoons of baking powder, and ¼ teaspoon of salt until completely uniform.
-
Pour in the ½ cup of milk, 2 tablespoons of melted butter, and 1 teaspoon of vanilla extract.
-
Stir with a spoon or spatula just until combined into a thick, smooth batter. Spread this batter evenly across the bottom of your prepared microwave-safe dish.
2. Layer the Sauce Components
-
In a small separate bowl, toss together the ½ cup of packed brown sugar and the remaining ¼ cup of cocoa powder until uniform.
-
Sprinkle this dry sugar-cocoa mixture evenly over the entire surface of the cake batter in the dish. Do not stir it in!
-
Gently and slowly pour the 1 cup of hot water or hot coffee over the top of everything. (Pro Tip: Pour the liquid over the back of a large spoon to avoid disturbing the layers or blasting a hole in the batter). The dessert will look like a liquid mess at this stage, but do not panic—this is exactly how the magic happens!
3. The Rapid Microwave Cook
-
Place the uncovered dish directly into the microwave.
-
Cook on High power (100%) for 5 to 6 minutes.
-
Watch through the window: the cake layer will puff up significantly and look dry and set on the top surface, while the pudding sauce bubbly-boils underneath.
-
The Doneness Test: Gently nudge the dish; the cake should be stable on top, but have a soft, jelly-like jiggle from the thick pudding sauce bubbling underneath. If the center still looks completely liquid on top, microwave in extra 30-second bursts.
4. Rest and Serve Warm
-
Carefully remove the hot dish from the microwave using oven mitts.
-
Let the pudding cake rest quietly on the counter for 5 minutes before serving. This brief rest allows the hot chocolate sauce to thicken into a luxurious, spoonable pudding consistency.
-
Scoop deep down to the bottom of the dish to capture both the fluffy, moist chocolate cake top and a generous pool of the glossy, warm pudding sauce. Serve immediately!
Pro Presentation Secrets
-
The Ultimate Ala Mode Upgrade: Because this dessert is served warm and features a rich, dark pudding pool, it begs for a contrast in temperature. Top each warm scoop with a generous ball of cold vanilla bean ice cream or a dollop of fresh whipped cream. As the ice cream melts into the hot fudge pudding sauce, it creates an incredibly luxurious cream consistency.
-
Individual Mug Variant: If you want to make individual portions, divide the cake batter evenly among 4 large microwave-safe mugs. Sprinkle the cocoa-sugar mixture on top of each, pour ¼ cup of hot liquid into each mug, and microwave them one at a time for about 60 to 75 seconds.
Storage and Freshness Guidelines
-
In the Refrigerator: This cake is at its absolute pinnacle when served fresh and warm out of the microwave. However, if you have leftovers, cover the dish tightly and store it in the fridge for up to 2 days.
-
The Fudgy Reheat Trick: When chilled, the pudding sauce will solidify into a dense fudge. To restore its original molten state, simply spoon a portion onto a plate, add a tiny splash of water or milk over the top, and microwave for 20 to 30 seconds until the sauce liquefies back into a warm pudding pool.
Nutritional Summary
| Metric | Details |
| Yield | 4 – 6 warm, gooey servings |
| Baking Vessel | 8×8-inch Microwave-Safe Glass/Ceramic Dish |
| Texture Profile | Feather-light, moist chocolate sponge cake sitting on top of a rich, molten hot chocolate pudding sauce. |
Frequently Asked Questions (FAQs)
My cake came out dry and there is no sauce left. What happened?
Microwaves cook very quickly and vary significantly in wattage. If your sauce completely disappeared and the cake feels dry, it was overcooked. Next time, begin checking the cake at the 4.5 or 5-minute mark. You want to stop cooking as soon as the top cake sponge looks set and dry, even if the center still jiggles beautifully from the liquid underneath.
Can I use a metal baking pan in this recipe?
No, absolutely not! This recipe is specifically designed to be cooked in a microwave, so you must use a microwave-safe glass, ceramic, or silicone baking dish. Putting a metal pan in the microwave will cause dangerous arcing and damage your appliance.
Final Thoughts
This Creamy Microwave Chocolate Pudding Cake is the ultimate proof that gourmet comfort food doesn’t require hours of effort or a conventional oven. By trusting the layering process and keeping a close eye on your microwave’s cooking time, you can create an elegant, multi-textured chocolate showstopper whenever a craving strikes.
Try Also: Irresistible Dessert Ideas from
-
What is Dubai Chocolate Bar Made Of? Key Ingredients Explained
-
Rose Milk Cake Recipe
-
Strawberry Cheesecake Dump Cake Recipe
Be sure to bookmark or save these fast-baking, self-saucing layering secrets so you are fully prepared for your next quick weeknight dessert emergency!
Creamy Microwave Chocolate Pudding Cake
- Total Time: 16 minutes
- Yield: 4-6 servings 1x
- Diet: Vegetarian
Description
A quick and easy self-saucing chocolate pudding cake made in the microwave, featuring a fluffy chocolate sponge and a rich molten fudge sauce.
Ingredients
- 1 cup All-Purpose Flour
- ¾ cup Granulated Sugar
- ¼ cup Unsweetened Cocoa Powder
- 2 teaspoons Baking Powder
- ¼ teaspoon Salt
- ½ cup Milk
- 2 tablespoons Unsalted Butter (Melted)
- 1 teaspoon Vanilla Extract
- ½ cup Light Brown Sugar
- ¼ cup Unsweetened Cocoa Powder
- 1 cup Hot Water or Hot Brewed Coffee
Instructions
- Lightly grease an 8×8-inch microwave-safe dish.
- Whisk together the flour, granulated sugar, cocoa powder, baking powder, and salt in a bowl.
- Pour in the milk, melted butter, and vanilla extract.
- Stir until combined into a thick batter and spread in the dish.
- In another bowl, mix the brown sugar and cocoa powder together.
- Sprinkle this mixture evenly over the batter, do not stir.
- Gently pour the hot water or coffee over the top.
- Place in the microwave and cook on high for 5-6 minutes.
- Carefully remove from the microwave after cooking, let it sit for 5 minutes before serving.
- Scoop from the dish to serve, capturing both cake and sauce.
Notes
For best results, use room-temperature milk. You can also divide the batter into individual mugs for personal servings.
- Prep Time: 10 minutes
- Cook Time: 6 minutes
- Category: Dessert
- Method: Microwaving
- Cuisine: American
Nutrition
- Serving Size: 1 serving
- Calories: 350
- Sugar: 30g
- Sodium: 200mg
- Fat: 12g
- Saturated Fat: 6g
- Unsaturated Fat: 4g
- Trans Fat: 0g
- Carbohydrates: 50g
- Fiber: 3g
- Protein: 7g
- Cholesterol: 25mg
Keywords: chocolate pudding, microwave dessert, self-saucing cake, quick dessert