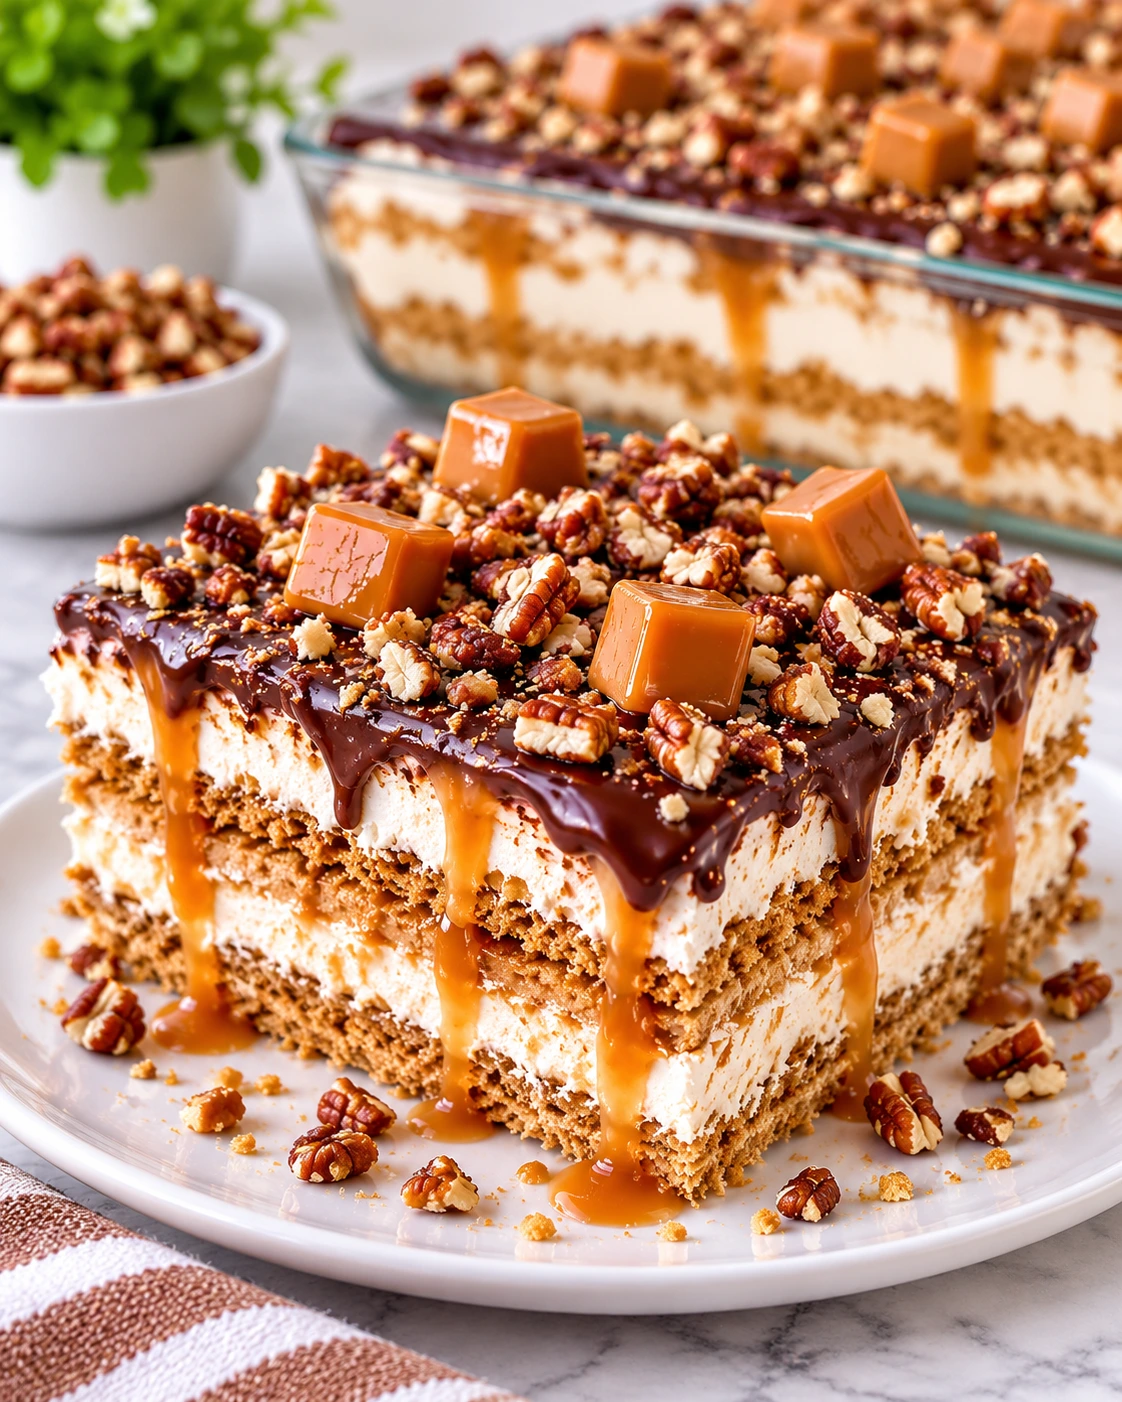
If you love peanut butter desserts and easy no-bake treats, this No Bake Nutty Buddy Icebox Cake is a recipe you don’t want to miss! Made with Nutty Buddy cookies, creamy peanut butter, fluffy whipped cream, and crunchy chopped nuts, this delicious dessert combines simple ingredients into an irresistible layered treat.
One of the best things about this recipe is that you don’t need an oven, complicated baking techniques, or hours of preparation. With just 15 minutes of prep time, you can assemble this creamy dessert and let the refrigerator do the rest of the work.
This icebox cake features layers of Nutty Buddy cookies and a smooth peanut butter cream mixture. As the dessert chills, the cookies gradually soften and absorb moisture from the creamy filling, creating a tender, cake-like texture. The result is a delicious combination of creamy, sweet, and nutty flavors in every bite.
The peanut butter filling is made with powdered sugar and vanilla extract, giving it a balanced sweetness and a wonderful aroma. Gently folded whipped cream makes the mixture light and fluffy, while chopped nuts add a little crunch to the finished dessert.
Whether you’re preparing something special for a family dinner, planning a holiday gathering, or simply craving an easy homemade dessert, this No Bake Nutty Buddy Icebox Cake is a wonderful choice.
Best of all, it serves eight people, making it perfect for sharing. Prepare it ahead of time, refrigerate for at least four hours, and enjoy a chilled dessert that looks beautiful and tastes even better!
Why You’ll Love This No Bake Nutty Buddy Icebox Cake
There are plenty of reasons to add this easy peanut butter icebox cake to your dessert collection.
- No baking required: You don’t need to turn on the oven. Simply assemble the layers and refrigerate until set.
- Quick preparation: The recipe takes only 15 minutes of active preparation.
- Simple ingredients: You only need six ingredients to make this delicious dessert.
- Rich peanut butter flavor: Peanut butter creates a smooth, nutty filling that pairs beautifully with the cookies.
- Light and creamy texture: Whipped cream gives the filling a soft and fluffy consistency.
- Perfect for making ahead: The cake needs at least four hours to chill, making it convenient to prepare before serving.
- Great for sharing: With eight servings, it’s an excellent dessert for family gatherings and special occasions.
What Is a No Bake Nutty Buddy Icebox Cake?
A No Bake Nutty Buddy Icebox Cake is a layered refrigerator dessert made with Nutty Buddy cookies and a creamy peanut butter filling.
Traditional icebox cakes are prepared by layering cookies or wafers with a creamy mixture and allowing them to chill in the refrigerator. During this time, the cookies absorb moisture from the filling and become softer, creating a texture similar to a traditional cake.
In this recipe, Nutty Buddy cookies provide the cookie layers, while peanut butter, powdered sugar, vanilla extract, and whipped cream create the delicious filling.
The layers are repeated until all the ingredients are used, and chopped nuts are sprinkled over the top for an extra nutty finish.
Unlike traditional baked cakes, this dessert doesn’t require flour, eggs, or an oven. It’s a convenient way to prepare something sweet with minimal effort.
If you enjoy peanut butter and cookie-based desserts, this icebox cake is a delicious treat worth trying.
Ingredients You’ll Need
One of the best things about this recipe is its simple ingredient list. Each ingredient contributes to the flavor and texture of the finished dessert.
1. Nutty Buddy Cookies
1 package Nutty Buddy cookies
Nutty Buddy cookies are the foundation of this icebox cake. They create the layers that give the dessert its structure and delicious cookie flavor.
As the cake chills, the cookies gradually soften, allowing them to blend beautifully with the creamy peanut butter filling.
2. Whipped Cream
2 cups whipped cream
Whipped cream gives the filling its light and fluffy consistency. It balances the richness of peanut butter and makes the dessert smooth and creamy.
Gently folding the whipped cream into the peanut butter mixture helps maintain its airy texture.
3. Peanut Butter
1/2 cup peanut butter
Peanut butter is the main flavor of this dessert. It adds a rich, nutty taste and creates a delicious combination with the cookies.
Mixing it with powdered sugar and vanilla extract creates a smooth base for the filling.
4. Powdered Sugar
1/4 cup powdered sugar
Powdered sugar adds sweetness to the peanut butter mixture and blends easily into the filling because of its fine texture.
It helps create a smooth and delicious cream layer.
5. Vanilla Extract
1 teaspoon vanilla extract
Vanilla extract enhances the overall flavor of the filling. Its sweet aroma complements the peanut butter and makes the dessert taste even more delicious.
6. Chopped Nuts
1/4 cup chopped nuts
Chopped nuts provide a crunchy finishing touch. Sprinkled over the top of the assembled cake, they add extra texture and enhance the nutty flavor.
They also make the dessert look more attractive when served.
Equipment Needed
You only need a few basic kitchen tools to prepare this recipe:
- Mixing bowl
- Spatula
- Measuring cups
- Measuring spoons
- Serving or layering dish
- Knife for slicing
Having everything ready before you begin makes the preparation process easier and more organized.
How to Make No Bake Nutty Buddy Icebox Cake
Making this No Bake Nutty Buddy Icebox Cake is incredibly simple. You only need to prepare the peanut butter cream, arrange the cookie layers, add the chopped nuts, and refrigerate until set.
Follow these easy steps for a delicious homemade dessert.
Step 1: Prepare the Peanut Butter Mixture
Start by adding the peanut butter, powdered sugar, and vanilla extract to a mixing bowl.
Mix the ingredients together until the mixture becomes smooth and creamy.
Make sure the powdered sugar is fully incorporated into the peanut butter. This helps create an evenly blended filling without visible sugar pockets.
The vanilla extract adds a lovely aroma and complements the rich peanut butter flavor.
Step 2: Fold in the Whipped Cream
Once the peanut butter mixture is smooth, gently fold in the whipped cream.
Use a spatula to combine the ingredients without mixing too aggressively.
Continue folding until the whipped cream is evenly incorporated and the filling becomes light, fluffy, and creamy.
This peanut butter cream mixture will create the delicious layers throughout the icebox cake.
Step 3: Create the First Cookie Layer
Choose a suitable dish for assembling your dessert.
Arrange a layer of Nutty Buddy cookies evenly across the bottom of the dish.
Try to distribute the cookies as evenly as possible to create a good foundation for the peanut butter filling.
Step 4: Add the Peanut Butter Cream
Spread a layer of the prepared peanut butter cream mixture over the cookies.
Use a spatula to distribute the filling evenly, making sure it covers the cookie layer.
The combination of cookies and creamy peanut butter filling is what gives this dessert its wonderful layered texture.
Step 5: Repeat the Layers
Continue alternating layers of Nutty Buddy cookies and peanut butter cream.
Repeat this process until all the ingredients are used up.
Try to keep the layers even so the cake has a beautiful appearance when sliced.
Step 6: Add the Chopped Nuts
Once all the layers have been assembled, sprinkle the chopped nuts evenly over the top.
The nuts add a delicious crunch and complement the peanut butter flavor.
This final topping also gives the dessert a simple but attractive finish.
Step 7: Refrigerate Until Set
Place the assembled dessert in the refrigerator.
Allow it to chill for at least 4 hours before serving.
This step is important because it allows the cookies to soften and the creamy filling to settle.
As the dessert chills, the different layers come together, creating the soft, cake-like texture that makes icebox cakes so special.
For the best results, make sure the dessert is thoroughly chilled before slicing.
Step 8: Slice and Serve
Once the icebox cake has chilled for at least four hours, remove it from the refrigerator.
Cut the dessert into eight individual servings using a sharp knife.
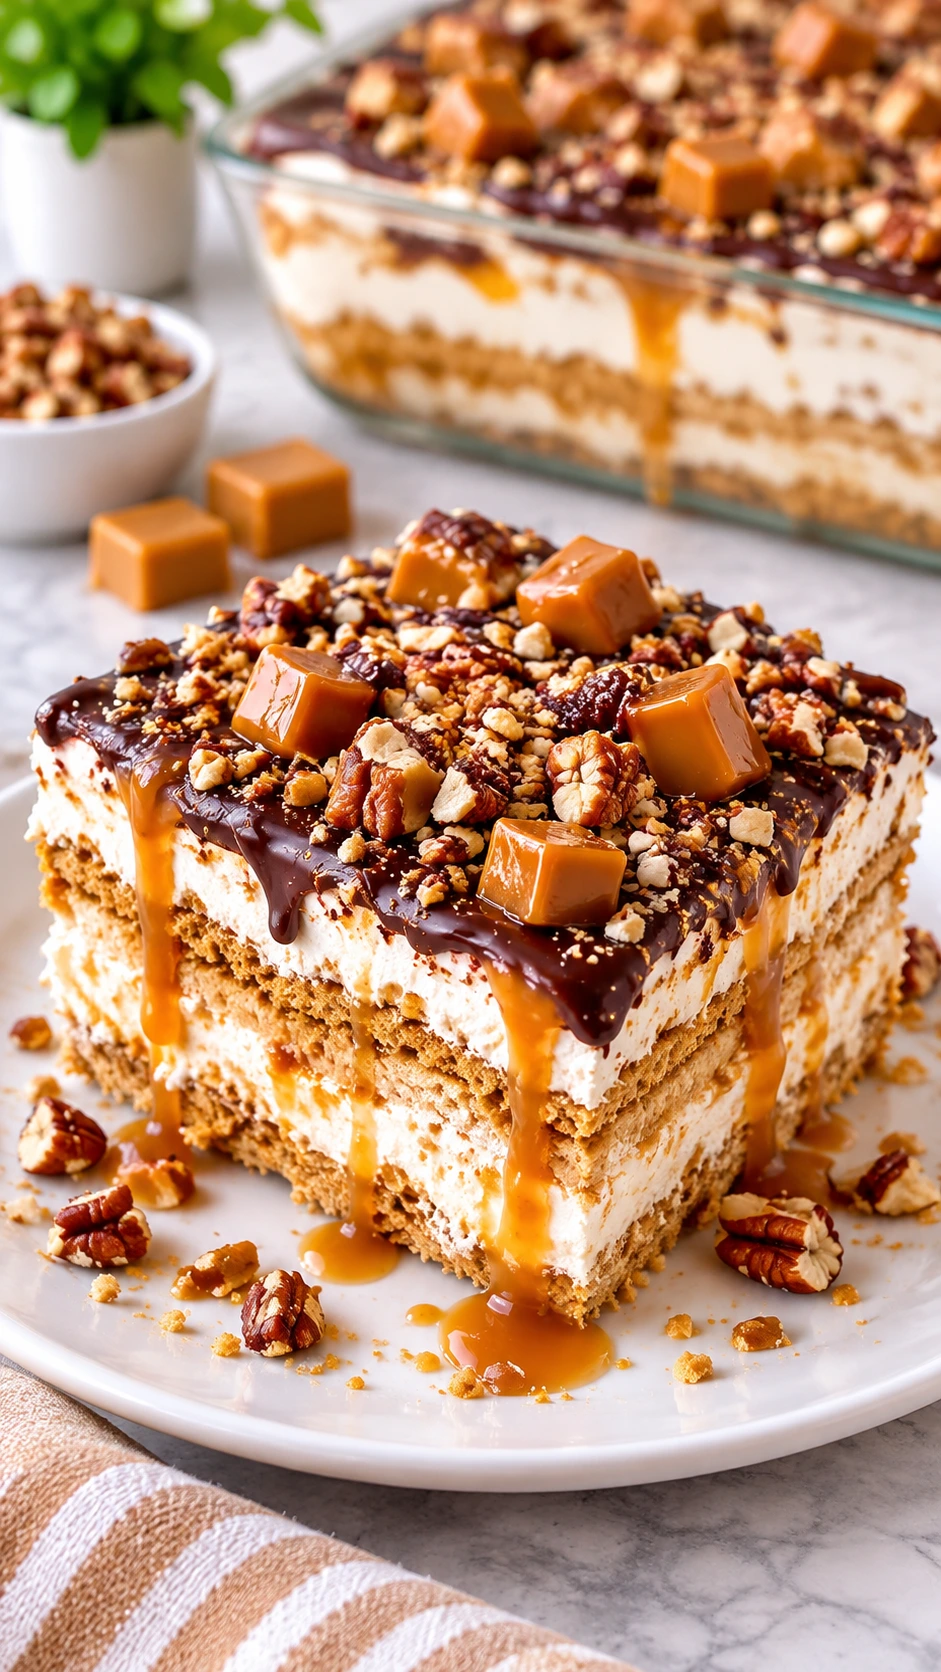
Carefully transfer each slice to a dessert plate, keeping the cookie and peanut butter cream layers visible.
Serve chilled and enjoy the delicious combination of Nutty Buddy cookies, smooth peanut butter cream, and crunchy chopped nuts!
Tips for Making the Best Nutty Buddy Icebox Cake
Although this recipe is easy to prepare, a few simple tips can help you achieve the best possible results.
1. Mix the peanut butter mixture thoroughly
Before adding the whipped cream, make sure the peanut butter, powdered sugar, and vanilla extract are completely combined. A smooth base helps create an evenly textured filling.
2. Fold the whipped cream gently
Avoid stirring too vigorously when adding the whipped cream. Gentle folding helps preserve its light and fluffy consistency.
3. Keep the cookie layers even
Arrange the Nutty Buddy cookies evenly across the bottom of your dish. This helps create balanced layers throughout the dessert.
4. Spread the filling carefully
Use a spatula to distribute the peanut butter cream evenly over each cookie layer. This helps every slice contain a delicious combination of cookies and cream.
5. Don’t skip the chilling time
Refrigerating the dessert for at least four hours is essential. This allows the cookies to soften and the filling to settle properly.
6. Add the chopped nuts evenly
Sprinkle the chopped nuts across the entire surface so that every serving gets some of the crunchy topping.
Easy Chocolate Variation
If you’re a chocolate lover, you can try the chocolate variation mentioned in the original recipe notes.
Simply add cocoa powder to the cream mixture to introduce a deeper chocolate flavor.
Chocolate and peanut butter are a classic combination, making this a delicious alternative for anyone who enjoys richer dessert flavors.
The original preparation method remains the same, so you can enjoy a different flavor without changing the basic assembly process.
What to Serve with No Bake Nutty Buddy Icebox Cake
This creamy peanut butter dessert is delicious on its own, but you can also serve it with a few simple additions.
- Fresh strawberries: Their fruity flavor adds a refreshing contrast to the rich peanut butter filling.
- Vanilla ice cream: A scoop of vanilla ice cream makes each serving even more indulgent.
- Hot coffee: Coffee pairs beautifully with the sweet cookie and peanut butter flavors.
- Cold milk: A glass of cold milk is a classic pairing for peanut butter desserts.
- Fresh berries: Strawberries or raspberries add color and freshness to the dessert plate.
These simple serving ideas make this icebox cake a lovely option for family dinners, celebrations, and weekend treats.
How to Store No Bake Nutty Buddy Icebox Cake
Because this dessert contains whipped cream, proper refrigeration is important.
Refrigerator: Keep the icebox cake covered and refrigerated until you’re ready to serve it.
Leftovers: Transfer any remaining portions to an airtight container and store them in the refrigerator.
Serving: Remove only the portions you plan to serve and return the remaining dessert to the refrigerator promptly.
Keep the cake chilled to maintain its creamy texture and freshness.
Frequently Asked Questions
How long does No Bake Nutty Buddy Icebox Cake need to chill?
The dessert needs at least four hours in the refrigerator before serving. This allows the cookies to soften and the peanut butter cream filling to settle.
Can I make this icebox cake ahead of time?
Yes! This is a convenient dessert to prepare ahead because it already requires several hours of chilling. Assemble the cake, refrigerate it, and serve once it is properly chilled.
Why does an icebox cake need refrigeration?
Refrigeration allows moisture from the creamy filling to soften the cookies gradually. This creates the tender, cake-like consistency associated with traditional icebox cakes.
Can I make a chocolate version?
Yes. The original recipe notes suggest adding cocoa powder to the cream mixture for a chocolate variation.
Can I use a different type of cookie?
The original recipe specifically calls for one package of Nutty Buddy cookies. Using a different cookie would create a variation of the original dessert.
How many servings does this recipe make?
This No Bake Nutty Buddy Icebox Cake makes eight servings.
Can I serve the cake immediately after assembling it?
It’s best to wait until the dessert has chilled for at least four hours. This gives the cookies enough time to soften and allows the layers to settle.
What makes this dessert different from a traditional cake?
Traditional cakes are usually prepared with a batter and baked in an oven. This icebox cake is assembled using cookies and a creamy peanut butter filling, then refrigerated until it develops a soft, cake-like texture.
Final Thoughts
This No Bake Nutty Buddy Icebox Cake is proof that delicious homemade desserts don’t always need complicated preparation or baking.
With six simple ingredients, you can create a creamy, layered dessert filled with peanut butter flavor, fluffy whipped cream, Nutty Buddy cookies, and crunchy chopped nuts.
The preparation takes just 15 minutes, while the refrigerator does the rest of the work. After at least four hours of chilling, the cookies soften, the filling settles, and all the layers come together beautifully.
Whether you’re preparing a dessert for a family gathering, a holiday celebration, or simply looking for an easy sweet treat, this recipe is a wonderful choice.