If you’re looking for a rich, creamy, and irresistible dessert that doesn’t require turning on your oven, this Biscoff Cookie Butter Icebox Cake is exactly what you need! Made with delicious Biscoff cookie crumbs, smooth cookie butter, fluffy whipped cream, and a buttery crust, this no-bake dessert is packed with warm caramelized cookie flavor in every bite.
One of the best things about this icebox cake is how easy it is to prepare. With just a handful of simple ingredients and about 20 minutes of preparation time, you can create a beautiful dessert that looks impressive and tastes absolutely delicious. The refrigerator does most of the work, allowing the layers to chill and set into a soft, creamy, sliceable cake.
Whether you’re preparing a dessert for a family gathering, a holiday celebration, a birthday party, or simply satisfying your sweet tooth, this Biscoff icebox cake is a wonderful choice. Its combination of crunchy cookie crumbs and smooth cookie butter cream creates a delicious contrast of textures that Biscoff lovers will appreciate.
The best part? No baking is required! Simply prepare the layers, refrigerate, and enjoy a dessert that everyone will want another slice of.
Why You’ll Love This Biscoff Cookie Butter Icebox Cake
There are plenty of reasons to add this easy no-bake dessert to your collection of favorite recipes.
- No oven required: This recipe is perfect for warm days when you want a homemade dessert without heating up your kitchen.
- Rich Biscoff flavor: Cookie butter and Biscoff cookie crumbs create a delicious caramelized, cinnamon-spiced flavor.
- Simple ingredients: You only need a few everyday ingredients to prepare this creamy dessert.
- Easy preparation: The steps are straightforward, making this recipe suitable for beginner home cooks.
- Perfect for entertaining: Its beautiful layers make it an excellent dessert for parties, holidays, and special occasions.
- Make-ahead friendly: You can prepare it in advance and let it chill in the refrigerator until you’re ready to serve.
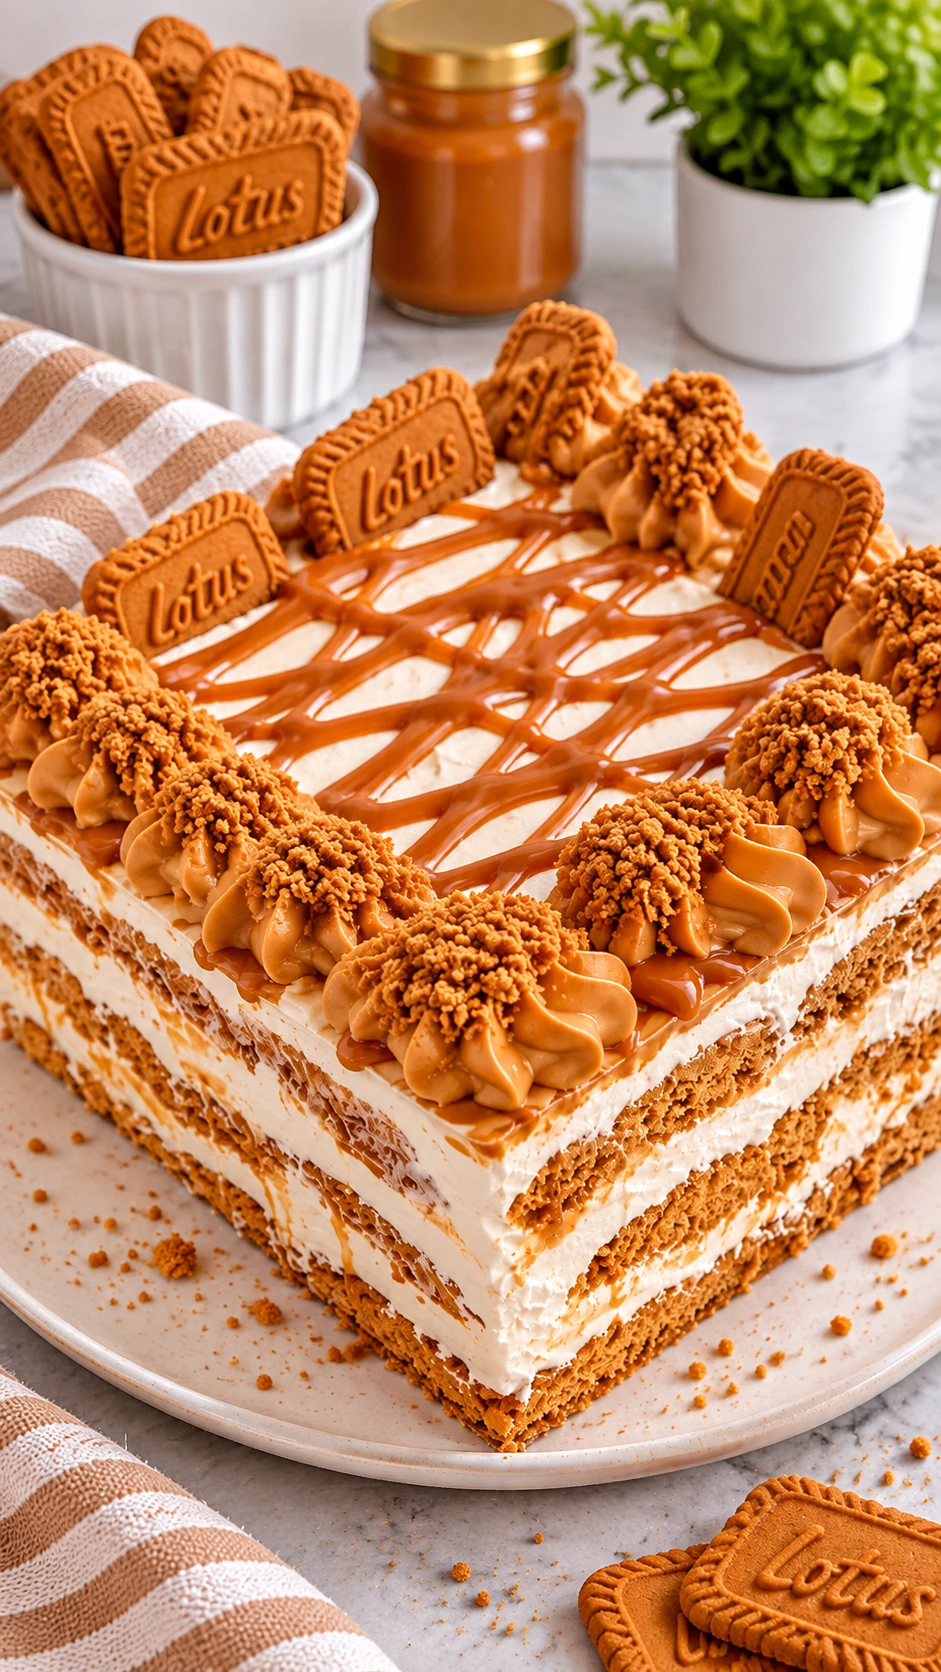
What Is a Biscoff Cookie Butter Icebox Cake?
An icebox cake is a classic no-bake dessert traditionally made by layering cookies or crackers with a creamy filling and refrigerating everything until it sets.
As the dessert chills, the cookies soften and absorb moisture from the cream, creating a texture similar to a traditional layered cake. The result is a delicious dessert that can be sliced and served without ever using an oven.
This version takes the classic icebox cake concept and gives it a delicious Biscoff-inspired twist.
Biscoff cookies are known for their distinctive caramelized flavor and subtle cinnamon notes. When combined with smooth cookie butter and freshly whipped cream, they create a rich, velvety filling that makes every bite special.
The buttery cookie crust provides a delicious foundation, while the creamy filling adds softness and richness. A final topping of chocolate shavings adds an elegant finishing touch.
Ingredients You’ll Need
One of the best things about this recipe is its short ingredient list. Each ingredient contributes to the flavor and texture of the finished dessert.
1. Biscoff Cookie Crumbs
You’ll need 1 cup of Biscoff cookie crumbs to create the base layers. These crumbs provide the signature caramelized cookie flavor and a slightly crunchy texture.
You can crush whole Biscoff cookies in a food processor or place them in a sealed plastic bag and crush them with a rolling pin.
2. Unsalted Butter
Use 1/2 cup of melted unsalted butter to bind the cookie crumbs together. The butter helps create a firm, flavorful crust that holds its shape when sliced.
3. Cookie Butter
Cookie butter is the star ingredient in this dessert. You’ll need 2 cups to create the rich, creamy filling.
Its smooth consistency and caramelized spice flavor make it the perfect addition to whipped cream.
4. Heavy Cream
Use 1 cup of cold heavy cream. Whipping the cream creates a light and fluffy texture that balances the richness of the cookie butter.
For the best results, make sure your cream is cold before whipping.
5. Powdered Sugar
You’ll need 1/4 cup of powdered sugar to add sweetness to the whipped cream. Powdered sugar dissolves easily and helps maintain a smooth texture.
6. Vanilla Extract
One teaspoon of vanilla extract adds a lovely aroma and enhances the overall flavor of the creamy filling.
7. Chocolate Shavings (Optional)
Use 1/2 cup of chocolate shavings as an optional topping. They add a beautiful finishing touch and a little chocolate flavor that pairs wonderfully with Biscoff.
Kitchen Equipment
Before starting, gather the following kitchen tools:
- 9×9-inch baking dish
- Mixing bowls
- Electric hand mixer or stand mixer
- Rubber spatula
- Measuring cups and spoons
- Food processor or rolling pin
- Sharp knife for slicing
Having everything ready will make the preparation process easier and more enjoyable.
How to Make Biscoff Cookie Butter Icebox Cake
Follow these simple steps to prepare your creamy, delicious no-bake dessert.
Step 1: Prepare the Cookie Crust
In a mixing bowl, combine the Biscoff cookie crumbs and melted unsalted butter.
Stir until the crumbs are evenly coated with butter. The mixture should have a texture similar to damp sand.
Transfer the mixture into the bottom of a 9×9-inch baking dish. Press it down firmly and evenly to create the crust.
Make sure the base is distributed evenly so that every slice has a delicious cookie layer.
Step 2: Whip the Heavy Cream
In a separate mixing bowl, add the heavy cream, powdered sugar, and vanilla extract.
Using an electric mixer, whip the mixture until stiff peaks form.
Stiff peaks mean that when you lift the beaters from the whipped cream, the peaks hold their shape without falling over.
Avoid overmixing, as this can affect the smooth and fluffy texture of your cream.
Step 3: Add the Cookie Butter
Gently fold the cookie butter into the whipped cream using a rubber spatula.
Continue folding until the ingredients are completely combined and the mixture becomes smooth and creamy.
Be gentle during this step to preserve as much air as possible in the whipped cream. This helps create a light, fluffy filling.
Step 4: Assemble the Cake Layers
Spread half of the cookie butter mixture evenly over the prepared crust.
Add another layer of the crust, followed by the remaining cookie butter mixture.
Spread the final layer gently with a spatula to create a smooth surface.
Take your time when assembling the layers to ensure an attractive presentation.
Step 5: Refrigerate Until Set
Cover the baking dish and place it in the refrigerator for at least 4 hours or overnight for the best results.
This chilling time allows the layers to firm up and the flavors to blend together.
For cleaner slices, overnight refrigeration is a great option.
Step 6: Add the Chocolate Topping and Serve
Before serving, sprinkle the chocolate shavings over the top of the cake, if desired.
Use a sharp knife to cut neat slices.
Serve chilled and enjoy every creamy, buttery, Biscoff-filled bite!
Tips for the Best Biscoff Icebox Cake
A few simple tips can help you achieve the best possible results.
- Use cold heavy cream: Cold cream whips more effectively and helps create a fluffy filling.
- Don’t rush the chilling process: Allow enough time for the cake to set properly. At least 4 hours is recommended.
- Press the crust firmly: A well-pressed crust helps the dessert hold together when sliced.
- Fold gently: When combining the cookie butter and whipped cream, use gentle movements to maintain the airy texture.
- Use a sharp knife: A sharp knife helps create clean and attractive slices.
- Chill overnight: If you have enough time, refrigerating the dessert overnight can make serving easier.
Delicious Variations and Topping Ideas
Although the original recipe is already delicious, you can add a few optional touches to customize the presentation.
Add Chopped Nuts
For an extra crunch, consider adding chopped nuts. They provide a pleasant texture that contrasts with the creamy filling.
Add Chocolate Chips
Chocolate chips are another delicious option. Their chocolate flavor complements the caramelized notes of the cookie butter.
Try Different Chocolate Shavings
Dark, milk, or white chocolate shavings can all make beautiful toppings. Choose your favorite to create a dessert that suits your taste.
Remember that these are optional serving ideas. The original recipe works beautifully without additional ingredients.
What to Serve With Biscoff Cookie Butter Icebox Cake
This dessert is rich and creamy, making it easy to pair with simple drinks and light accompaniments.
Consider serving it with:
- A cup of freshly brewed coffee.
- A glass of cold milk.
- Hot chocolate for an extra indulgent dessert experience.
- Fresh strawberries or raspberries for a fruity contrast.
- A cup of tea for a relaxing afternoon treat.
For special occasions, serve each slice on a dessert plate with a few extra chocolate shavings on top.
How to Store Biscoff Cookie Butter Icebox Cake
Proper storage helps maintain the cake’s creamy texture and delicious flavor.
In the refrigerator: Store the cake covered in its baking dish or in an airtight container. Keep it refrigerated until you’re ready to serve.
Make ahead: This dessert is ideal for preparing in advance. You can make it the day before serving and allow it to chill overnight.
Serving leftovers: Keep leftover slices refrigerated and serve them cold for the best texture.
Because this dessert contains whipped cream, avoid leaving it at room temperature for extended periods.
Frequently Asked Questions
1. Can I make Biscoff Cookie Butter Icebox Cake ahead of time?
Absolutely! This dessert is perfect for making ahead. Prepare the cake, cover it, and refrigerate it overnight. The chilling time helps the layers set and makes slicing easier.
2. Does this recipe require baking?
No. This is a completely no-bake dessert. You only need to prepare the crust and creamy filling before assembling the layers and refrigerating the cake.
3. How long does the cake need to chill?
The cake needs to refrigerate for at least 4 hours. For the best results and a firmer texture, you can leave it in the refrigerator overnight.
4. Can I use homemade cookie crumbs?
Yes. You can crush whole Biscoff cookies at home using a food processor or rolling pin to create your cookie crumbs.
5. Why is my icebox cake too soft?
The cake may be too soft if it hasn’t chilled long enough or if the whipped cream hasn’t reached stiff peaks. Make sure to follow the preparation instructions and allow sufficient refrigeration time.
6. Can I add extra toppings?
Yes! Chopped nuts and chocolate chips are excellent optional additions. You can also use different types of chocolate shavings for decoration.
7. Can I freeze this dessert?
The original recipe is designed to be refrigerated. Freezing may change the texture of the whipped cream after thawing, so refrigeration is recommended for the intended creamy consistency.
8. How do I get clean slices?
Use a sharp knife and wipe it clean between cuts. Make sure the cake has chilled sufficiently before slicing.
Final Thoughts
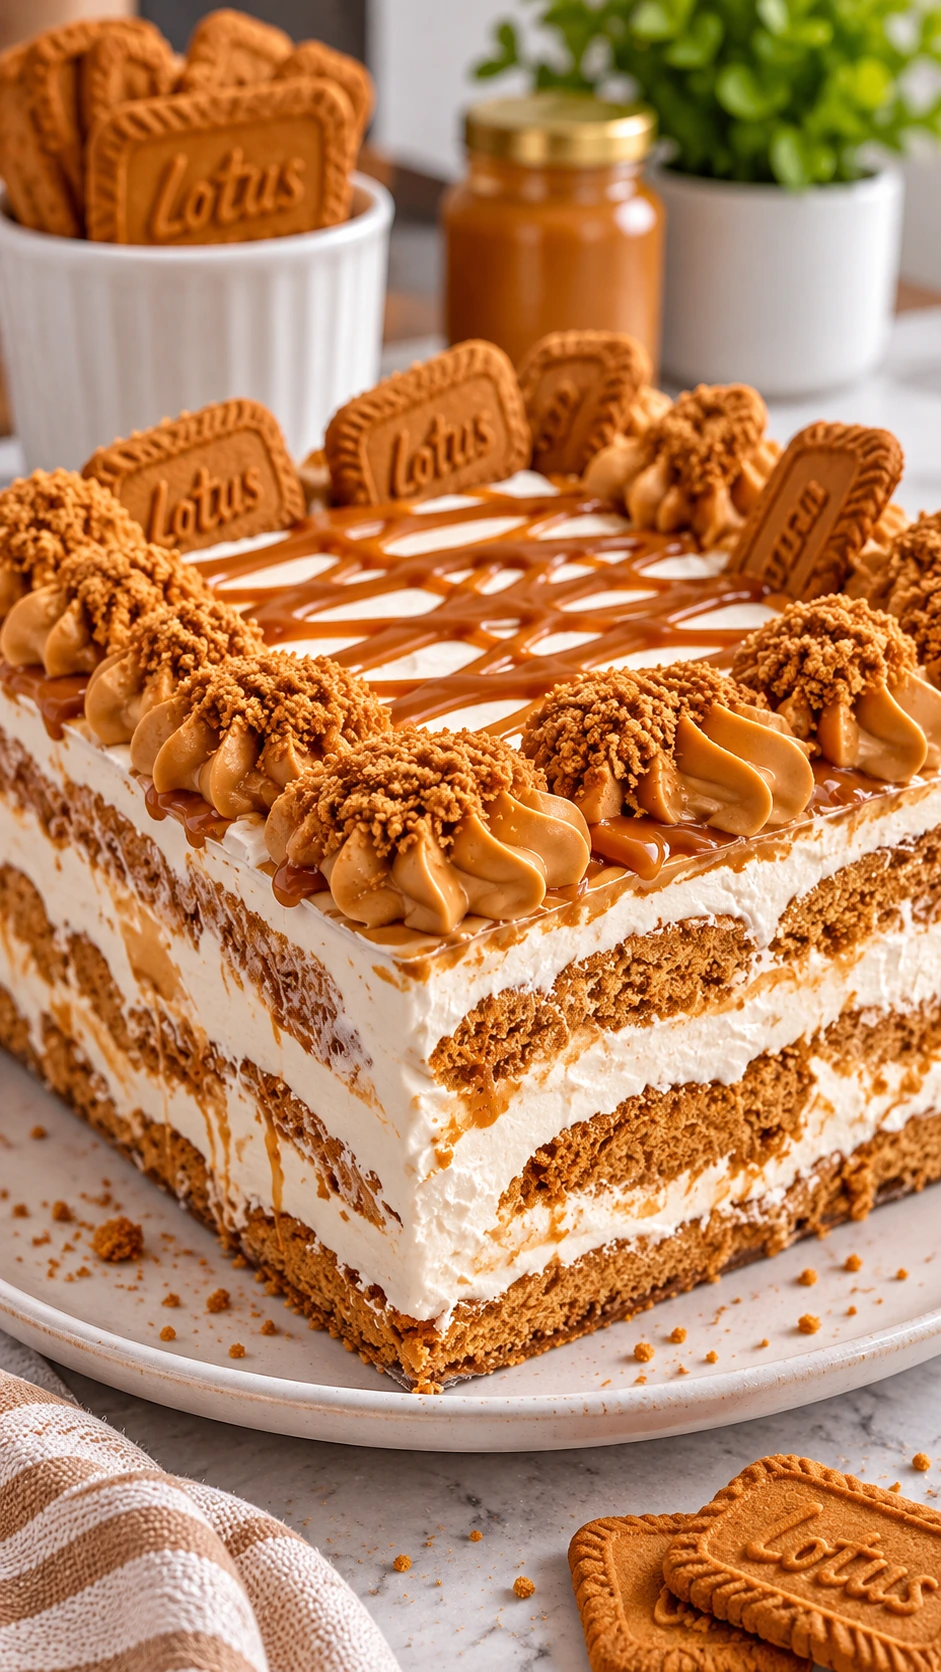
This Biscoff Cookie Butter Icebox Cake is proof that you don’t need complicated techniques or an oven to create an unforgettable dessert.
With its buttery cookie crust, smooth cookie butter filling, and optional chocolate topping, every slice delivers a delicious combination of flavors and textures.
It’s easy to prepare, perfect for making ahead, and ideal for sharing with family and friends. Whether you’re hosting a celebration or simply craving something sweet, this no-bake dessert deserves a place on your dessert table.
Give this recipe a try, refrigerate until perfectly set, and enjoy a creamy Biscoff treat that everyone will love!